Hansgrohe, a renowned brand with over a century of expertise, offers high-quality kitchen faucets combining innovative design, functionality, and sustainability․ Known for advanced features like Touchless Control, their products blend aesthetic appeal with water-efficient technology, ensuring durability and ease of use․
1․1 Overview of Hansgrohe as a Brand
Hansgrohe, a global leader in plumbing fixtures, has over a century of experience in crafting high-quality, innovative products․ Renowned for their sleek designs and advanced technologies, Hansgrohe offers a wide range of kitchen and bathroom faucets, shower systems, and accessories․ Their commitment to sustainability and water efficiency makes them a trusted choice for homeowners seeking both functionality and style․
1․2 Importance of Proper Faucet Maintenance
Regular maintenance is crucial for extending the lifespan of Hansgrohe kitchen faucets․ Proper care prevents leaks, reduces wear on moving parts, and ensures optimal water flow․ By addressing issues early, you avoid costly repairs and maintain water efficiency․ Hansgrohe’s high-quality materials and innovative designs make maintenance straightforward, ensuring your faucet continues to perform flawlessly for years․
Common Issues in Hansgrohe Kitchen Faucets
Hansgrohe kitchen faucets may experience leaks, low water pressure, or handle malfunctions․ These issues often stem from worn seals, clogged aerators, or improper installation, requiring prompt attention․
2․1 Leaks in the Swivel Spout
A leaking swivel spout is a common issue in Hansgrohe kitchen faucets, often caused by worn-out seals or O-rings․ Water seeping from the spout’s base or during rotation indicates the need for replacement․ Regular inspection and timely seal replacement can prevent further damage and maintain optimal faucet performance․
2․2 Low Water Pressure
Low water pressure in Hansgrohe kitchen faucets can result from mineral buildup, a clogged aerator, or faulty cartridges․ Regularly cleaning the aerator and checking for blockages in the water supply lines can help restore proper flow․ If issues persist, replacing the cartridge or consulting a professional may be necessary to ensure optimal performance and water efficiency․
2․3 Loose or Difficult-to-Operate Handles
Loose or stiff handles on Hansgrohe kitchen faucets often result from worn-out O-rings, mineral buildup, or improper installation․ To fix, use an Allen wrench to remove the handle, clean or replace the affected parts, and apply silicone-based lubricant․ Reassemble carefully to ensure smooth operation․ Regular maintenance helps prevent such issues, ensuring the faucet remains functional and easy to use․
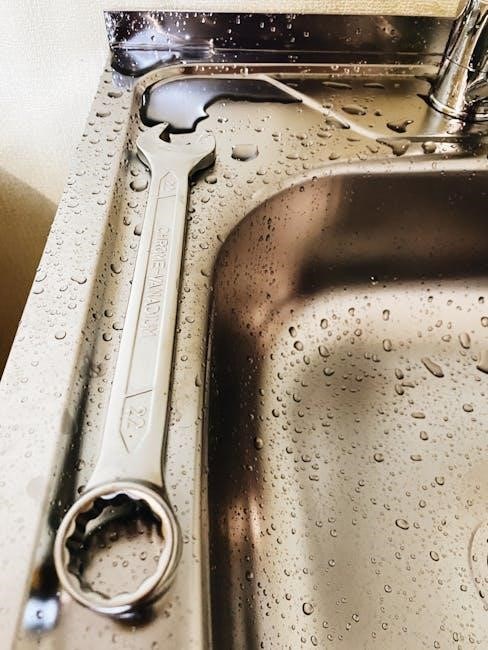
Essential Tools and Parts for Repair
Key tools include an Allen wrench for handle removal and pliers for disassembly․ Replacement parts like O-rings, cartridges, and spray heads are crucial for restoring functionality․ Ensure genuine components for optimal performance․
3․1 Allen Wrench for Handle Removal
An Allen wrench is essential for removing the handle of your Hansgrohe faucet․ Locate the hex-head screw beneath the handle and turn it counterclockwise to loosen․ Use the correct size wrench to avoid stripping the screw․ Once removed, the handle can be set aside, allowing access to internal components for repair or maintenance․ Regularly inspecting and maintaining this area ensures smooth operation and prevents future issues․
3․2 Replacement Seals and O-rings
Replacement seals and O-rings are crucial for fixing leaks in Hansgrohe kitchen faucets․ These components wear out over time, causing water to escape․ To address this, identify the correct seals for your faucet model using the product manual or Spare Parts Shop․ Replace them by disassembling the faucet and installing the new parts․ Proper installation ensures leak-free performance and extends the faucet’s lifespan․
3․1 Spare Parts Identification
Identifying the correct spare parts for your Hansgrohe kitchen faucet is essential for successful repairs․ Use the product manual to locate part numbers, ensuring compatibility․ The Hansgrohe Spare Parts Shop allows easy searching by model, providing exact replacements․ Accurate identification prevents mismatches and extends the faucet’s functionality, ensuring efficient and durable performance․
Step-by-Step Repair Guide
- Disassemble the handle using an Allen wrench to access internal components․
- Replace worn seals with new ones to eliminate leaks and ensure smooth operation․
- Reassemble the faucet carefully to restore proper functionality․
4․1 Disassembling the Faucet Handle
To disassemble the faucet handle, start by using an Allen wrench to remove the screw holding it in place․ Gently pull the handle away from the faucet body to access the internal stem․ Be careful not to force it, as this could damage the surrounding components․ Once removed, you’ll have clear access to the stem and related parts for further inspection or repair․ Handle with care to avoid scratching or damaging any surfaces․
4․2 Replacing Worn-out Seals
After disassembling the handle, locate the worn-out seals within the faucet’s stem or swivel area․ Remove the old seals using a flathead screwdriver or specialized tool․ Clean the area thoroughly to ensure proper adhesion․ Insert the new seals, aligning them carefully to avoid misplacement․ Apply a small amount of silicone-based lubricant for smooth operation․ Replace the handle and test the faucet to confirm the repair․
4․3 Reassembling the Faucet
Reattach the handle by aligning it with the stem and securing it with the Allen wrench․ Tighten clockwise until snug but avoid over-tightening․ Reconnect any hoses or water lines, ensuring they are firmly attached․ Turn on the water supply and test the faucet for leaks or proper function․ Double-check all connections for stability andLeaks․
Maintenance Tips for Longevity
Regular cleaning prevents mineral buildup․ Check for hidden leaks to avoid water damage․ Lubricate moving parts annually for smooth operation and longevity․
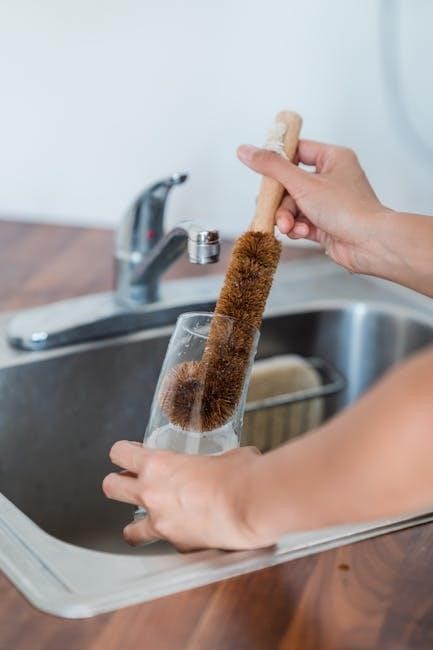
5․1 Cleaning the Faucet Regularly
Regular cleaning is essential for maintaining your Hansgrohe kitchen faucet’s appearance and functionality․ Use a soft cloth and mild detergent to wipe down surfaces, avoiding harsh chemicals․ For tough stains or mineral buildup, mix equal parts water and white vinegar and apply gently․ Regular cleaning prevents corrosion and ensures the faucet remains hygienic and visually appealing over time․
5․2 Checking for Hidden Leaks
To ensure your Hansgrohe faucet functions optimally, regularly check for hidden leaks․ Turn off the water supply and dry the faucet area․ Inspect the spout, handles, and connections for water droplets or mineral buildup․ Use a flashlight to examine hard-to-reach areas․ If you notice moisture or discoloration, it may indicate a leak․ Addressing these issues early prevents further damage and maintains your faucet’s performance․
5․3 Lubricating Moving Parts
Lubricating moving parts is crucial for maintaining your Hansgrohe faucet’s smooth operation․ Apply a small amount of silicone-based grease to the faucet’s joints, handles, and any other moving components․ This prevents friction, reduces wear, and ensures handles turn effortlessly․ Regular lubrication also protects against corrosion and extends the lifespan of your faucet, keeping it functioning like new for years to come․
Troubleshooting Advanced Features
Diagnose touchless control issues by checking sensor alignment, power supply, and software updates․ Reset or clean sensors, and refer to the manual for part numbers if replacement is needed․
6․1 Fixing Touchless Control Malfunctions
Identify touchless control issues by inspecting sensor alignment and cleanliness․ Ensure the power supply is stable and check for software updates․ If malfunctions persist, replace faulty sensors or control modules, using the official Hansgrohe Spare Parts Shop for genuine components․ Refer to the product manual for specific part numbers and installation guidance to restore functionality effectively․
6․2 Adjusting Spray Head Alignment
Misalignment of the spray head can affect water flow and spray pattern․ To adjust, ensure the spray head is securely locked into the faucet spout․ Use an Allen wrench to tighten or loosen the retaining screw for proper alignment․ If misalignment persists, refer to the product manual for specific instructions or replace the spray head using genuine parts from the Hansgrohe Spare Parts Shop․
Where to Find Spare Parts
The Official Hansgrohe Spare Parts Shop offers a comprehensive selection of genuine parts․ Use the product manual to identify specific part numbers for your faucet model․
7․1 Official Hansgrohe Spare Parts Shop
The Official Hansgrohe Spare Parts Shop provides easy access to genuine replacement components․ Simply enter the article number from your faucet’s manual into the search bar to find the exact part needed․ This ensures compatibility and quality, guaranteeing your repair is done right; The shop’s comprehensive database covers both current and older models, making it a reliable resource for maintaining your Hansgrohe faucet․
7․2 Using the Product Manual for Part Numbers
Your Hansgrohe faucet’s product manual is a vital resource for identifying correct part numbers․ It lists specific components, ensuring accurate replacements․ For older models, the manual helps locate discontinued or hard-to-find parts․ By referencing the manual, you can quickly find the exact spare parts needed, avoiding mismatches and ensuring compatibility with your faucet model․
Repairing your Hansgrohe kitchen faucet is straightforward with the right tools and guidance․ By following the manual and using genuine parts, you can ensure long-lasting functionality and durability․
8․1 Summary of Key Repair Steps
To effectively repair your Hansgrohe kitchen faucet, start by identifying the issue, such as leaks or low pressure․ Use an Allen wrench to disassemble the handle, replace worn seals or O-rings, and clean any debris․ Reassemble carefully, ensuring all parts are secure․ Regular maintenance, like lubricating moving parts and checking for hidden leaks, will extend the faucet’s lifespan․ Always refer to the manual for specific guidance and use genuine spare parts for optimal results․
8․2 Final Tips for DIY Success
For a successful DIY repair, always use genuine Hansgrohe spare parts and follow the manual closely․ Test the faucet after each repair step to ensure issues are resolved․ Keep essential tools like an Allen wrench handy, and lubricate moving parts regularly․ Proper maintenance and timely repairs will extend the lifespan of your faucet, ensuring optimal performance and minimizing future issues․